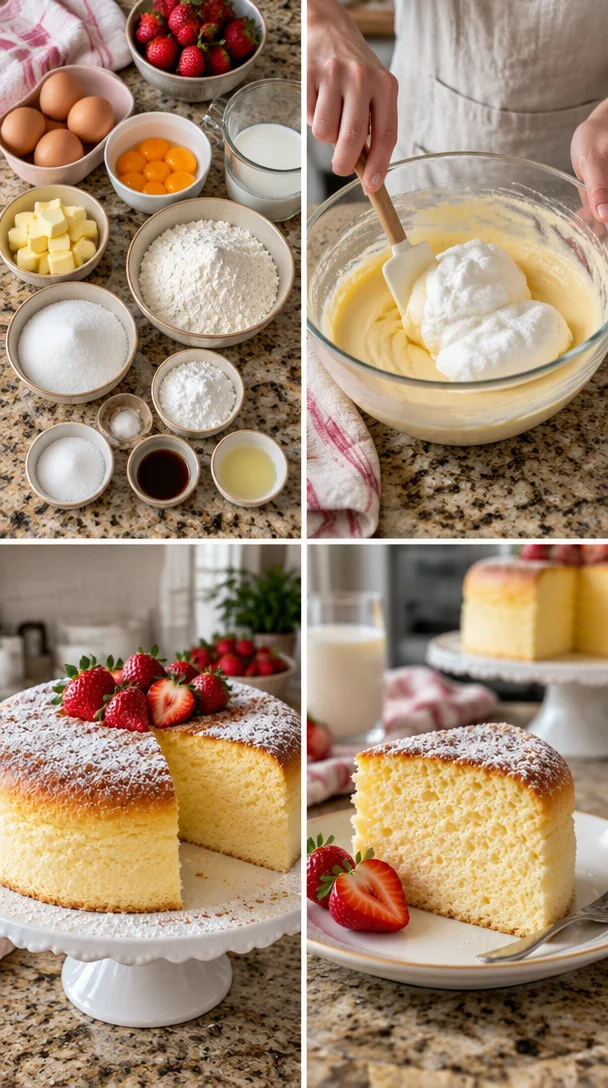
Japanese Milk Cake is a delightful dessert that is both soft and airy. Made with simple pantry ingredients, this cake is a perfect choice for any tea time or as a light dessert. If you’re interested in trying new recipes, this one surely stands out for its fluffy texture and mild flavor. Many people also enjoy pairing their cakes with a variety of dishes, such as cheesesteak tortellini, for a more substantial meal.
Why Make This Recipe
This Japanese Milk Cake is not only delicious but also easy to make. It requires only a handful of ingredients, most of which you probably already have at home. With its melting tenderness and subtle sweetness, this cake can impress anyone. It can also serve as a great base for modifications, allowing you to explore flavors like lemon or even chocolate if desired. You may also find 5 Simple Steps To Perfect Honey Garlic Chicken Thighs useful.
How to Make Japanese Milk Cake
Ingredients:
- 4 eggs, separated
- 2/3 cup whole milk
- 1/4 cup butter
- 3/4 cup cake flour
- 2 tbsp cornstarch
- 1/2 cup sugar
- 1 tsp vanilla
- Pinch of salt
- 1/2 tsp lemon juice
- Powdered sugar for dusting
Directions:
- Preheat your oven to 320°F (160°C) and grease a round cake pan.
- In a mixing bowl, whisk the egg yolks and sugar until pale and creamy.
- Melt the butter and mix it with the milk. Then gradually add this mixture to the egg yolk mixture, stirring continuously.
- Sift in the cake flour and cornstarch and mix until smooth.
- In another bowl, beat the egg whites with a pinch of salt until soft peaks form. Add the lemon juice and continue beating until stiff peaks form.
- Gently fold the egg whites into the yolk mixture in three additions until fully combined.
- Pour the batter into the prepared pan and tap it on the counter to remove any air bubbles.
- Bake for about 30-35 minutes or until a toothpick inserted into the center comes out clean.
- Allow the cake to cool slightly before transferring it to a wire rack.
- Dust with powdered sugar before serving.
How to Serve Japanese Milk Cake
This cake is best served fresh, but it is also delightful when chilled. You can slice it and serve it as a standalone treat or pair it with fruits for added flavor. Some people enjoy having it with a warm beverage, making it an ideal treat for afternoon tea. You may also find 7 Irresistible Chocolat Cake Recipes To Indulge Your Sweet Tooth useful.
How to Store Japanese Milk Cake
To store your Japanese Milk Cake, keep it in an airtight container in the refrigerator. It is best consumed within a few days for freshness. If you have leftover cake, ensure you cover it well to maintain its softness.
Tips to Make Japanese Milk Cake
- Ensure that your egg whites are not mixed with yolks for the right texture.
- Be gentle when folding the egg whites; this helps keep the cake light and fluffy.
- If you want a hint of citrus, consider adding orange zest along with the lemon juice.
Variation
While the classic Japanese Milk Cake is delightful on its own, you can also experiment with flavors. Try adding some matcha powder for a green tea version or cocoa powder for a chocolatey twist.
FAQs
1. Can I use all-purpose flour instead of cake flour?
Yes, you can. However, the texture may be slightly different, as cake flour will yield a lighter cake.
2. How can I make this cake gluten-free?
You can substitute the cake flour with a gluten-free flour blend. This will allow those who are gluten-sensitive to enjoy the cake.
3. What can I serve with Japanese Milk Cake?
This cake pairs well with whipped cream, fruit sauces, or even a scoop of ice cream for an extra indulgent treat.
Conclusion
Making Japanese Milk Cake is an enjoyable experience that results in a light and fluffy dessert. For those looking for similar recipes, consider trying Mrs. Ng’s Old Fashioned Butter Cake for a comforting classic. If you are in the mood for a creamy dessert, a delicious Panna Cotta might also be a great choice to explore. To get more inspiration and tips from cooking enthusiasts, you can check out the insights of Deborah Dal Fovo as well!
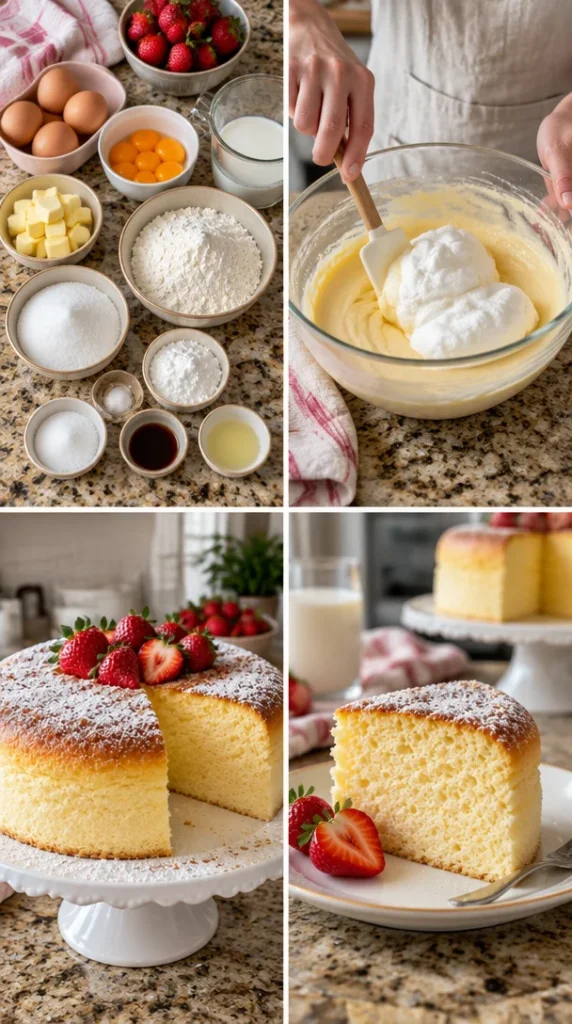
Japanese Milk Cake
Ingredients
Method
- Preheat your oven to 320°F (160°C) and grease a round cake pan.
- In a mixing bowl, whisk the egg yolks and sugar until pale and creamy.
- Melt the butter and mix it with the milk. Gradually add this mixture to the egg yolk mixture, stirring continuously.
- Sift in the cake flour and cornstarch and mix until smooth.
- In another bowl, beat the egg whites with a pinch of salt until soft peaks form. Add the lemon juice and continue beating until stiff peaks form.
- Gently fold the egg whites into the yolk mixture in three additions until fully combined.
- Pour the batter into the prepared pan and tap it on the counter to remove any air bubbles.
- Bake for about 30-35 minutes or until a toothpick inserted into the center comes out clean.
- Allow the cake to cool slightly before transferring it to a wire rack.
- Dust the cake with powdered sugar before serving.